Generate PDF documents from Salesforce
Posted by admin
Creating Documents is universal truth across organizations. Every organization either big or small.

Dynamics 365 is a widely adopted CRM platform that helps organizations effectively manage their customer relationships. It seamlessly integrates with Dynamics 365, allowing users to leverage their existing workflows and effortlessly incorporate template-based complex document generation into their processes. Businesses can enhance their document generation capabilities and leverage the power of automation within the CRM environment.
Before initiating the integration process, it is essential to ensure that the following prerequisites have been completed:
EDocGen is an API-first product and offers a variety of modes of document generation, including on-demand and bulk. Thus, it can be used by both business users and developers. It also offers integration with various enterprise systems and databases, making it adaptable to a wide range of use cases within an enterprise.
In the following sections, we will provide a step-by-step guide for how to generate documents from product UI and API.
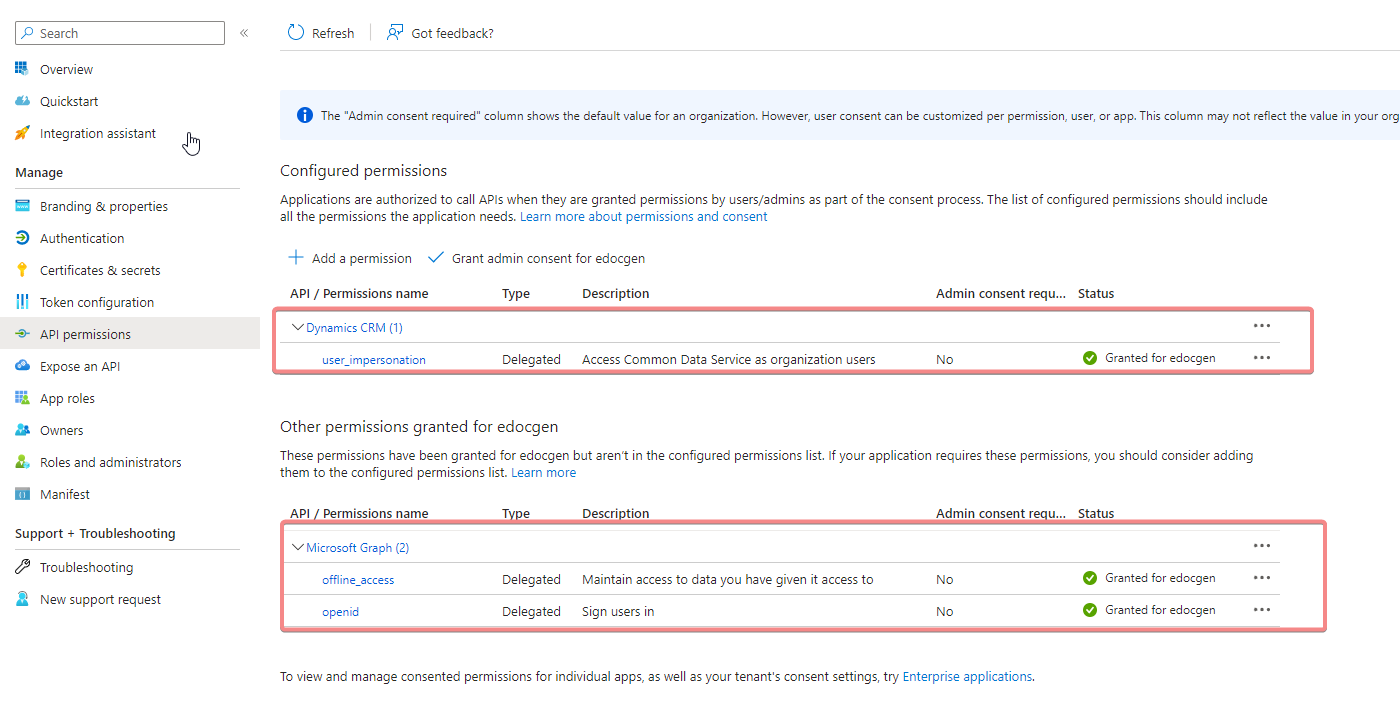
The first step is to authenticate your Dynamics 365 account from the system UI.
Step1: Upload your template
The system offers versatility by supporting various document template formats, including PDF, PPTX, and DOCX, allowing users to choose the format that best suits their needs.
Business users can use existing templates as-is. They only need to add dynamic data placeholders in their templates. The tags such as {Name} and {Email} can be used to represent dynamic data that will be replaced with actual values from Dynamics 365 data during document generation.
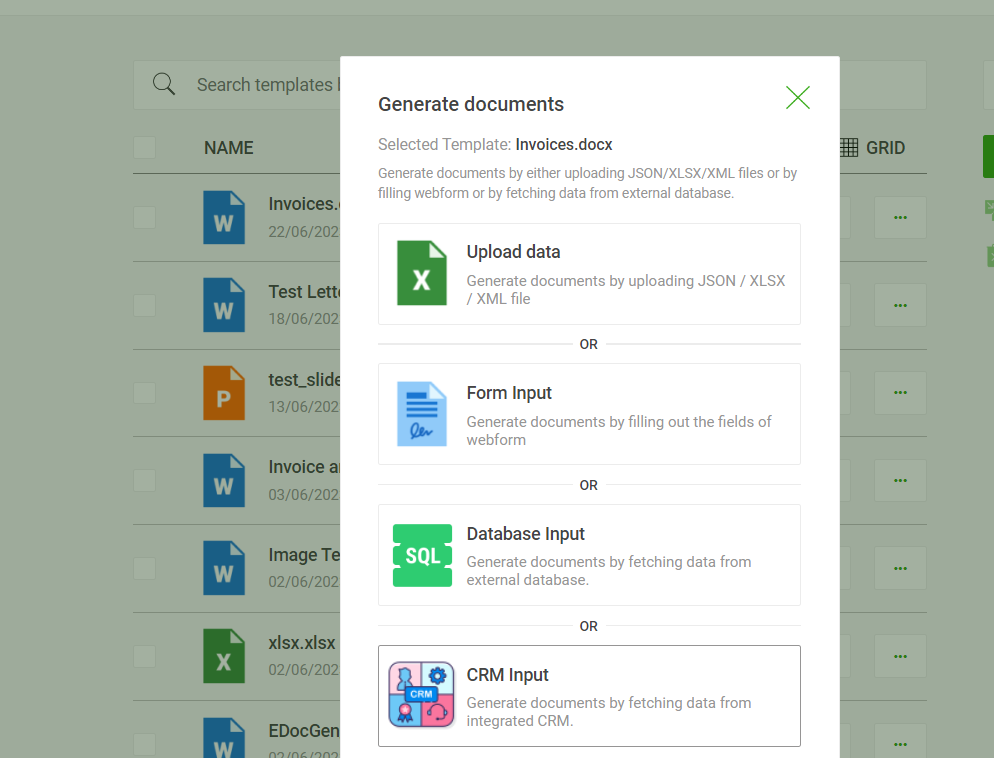
Step 2: Click the "Generate" button against the template and select "CRM input".
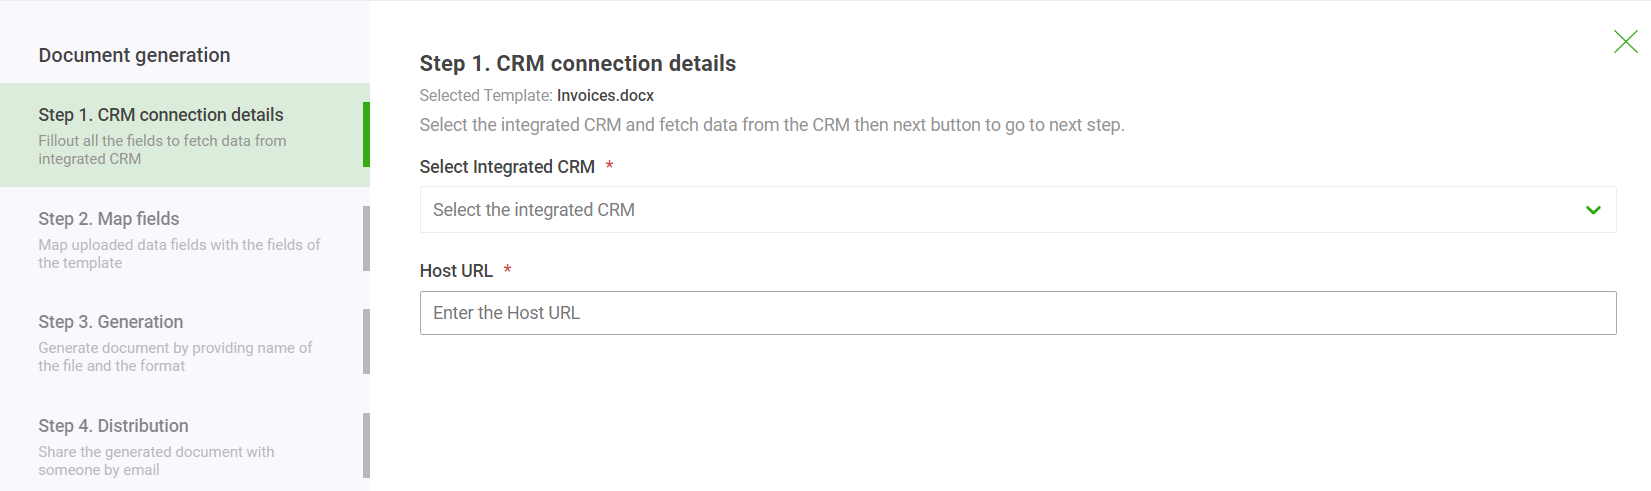
Step 3: Select Dynamics 365 from the drop-down list and enter the URL.
When retrieving data from CRM system, you can utilize different REST endpoints to interact with your Dynamics 365 CRM data.
For instance, you can make use of endpoints such as /api/data/v9.0/accounts , /api/data/v9.0/contacts, /api/data/v9.0/opportunities , or /api/data/v9.0/leads to perform specific operations on corresponding entities.
Additionally, to retrieve specific or single records, you can pass the unique identifier of the record along with the entity's specific ID format, such as /api/data/v9.0/{entityPluralName}({recordId}). This allows you to fetch precise information from Dynamics 365 CRM based on the provided record ID.
Also, Dynamics 365 CRM offers a flexible query language called the OData (Open Data Protocol) Query Language. The query endpoint follows the format /api/data/v9.0/{entityPluralName}?$filter={filter}&$select={fields}&$orderby={orderBy} Here are the main query parameters:
For example, /api/data/v9.0/accounts?$filter=name eq 'Acme Corp'&$select=name,telephone1&$orderby=createdon desc retrieves accounts with the name 'Acme Corp', selecting only the name and telephone1 fields and ordering the results by the creation field in descending order.
The system supports passing of the mentioned formats when integrating Dynamics 365 system to seamlessly retrieve data.
Step 4: Click the "Finish" button to generate PDF, DOCX, and PPTX files.
The API uses a JWT-based authentication token to secure all API interactions. To obtain this token, you must first register and submit your login credentials to the /login endpoint. Once you have successfully registered, you will be provided with an access token. This token must be included in every subsequent API call.
Here is a more detailed explanation of the authentication process:
The access token is a secure, unique identifier that allows the API to authenticate your requests. It is important to keep your access token safe and secure. If you lose your access token, you will need to register for a new one.
```createtoken.js````
async function createToken(username, password) {
  const url = 'https://app.edocgen.com/login';
  const headers = {
    'Accept-Language': 'en-US,en;q=0.9,hi;q=0.8',
    'Content-Type': 'application/json',
    'accept': 'application/json'
  };
  const body = {
    username: username,
    password: password
  };

  try {
    const response = await fetch(url, {
      method: 'POST',
      headers: headers,
      body: JSON.stringify(body)
    });

    if (!response.ok) {
      throw new Error(`Failed to create token: ${response.statusText}`);
    }

    const data = await response.json();
    return data.token;
  } catch (error) {
    console.error(error);
    throw new Error(`Failed to create token: ${error.message}`);
  }
}

module.exports = createToken;
```
After creating the template, it can be uploaded using either from UI or API.
It provides the following API, which can be used to upload the template file to the system server.
|
POST |
/api/v1/document |
Upload template |
| documentFile * |
file (formData) |
File to upload
|
| x-access-token |
string (header) |
Authorization header obtained by calling login |
This API accepts a single parameter of type "formData" called "documentFile". This parameter represents the file to be uploaded as the template.
After uploading our template to the server, we can obtain the corresponding template ID. This ID can be utilized to execute different API functions related to that specific template.
The API offers the capability to retrieve the template ID.
|
Method |
Endpoint |
Description |
|
GET |
/api/v1/document |
Returns template details
|
In Javascript, we can do this using the following method:
```
const axios = require("axios");

const hostName = "https://app.edocgen.com/api/v1/document/?search_column=filename&search_value=";
const headers = {
  "Content-Type": "application/json",
  "x-access-token": “”,
};

const fileName = "EDocGen_Testing Invoice.docx";

module.exports.generateFiles = function () {
  login.getToken(function handleUsersList(token) {
    headers["x-access-token"] = token;

    let config = {
      method: "get",
      url: hostName + fileName,
      headers: headers,
    };

    axios(config)
      .then(function (response) {
        console.log("Template IDs for the documents are as follows:");
        let data = response.data.documents;
        data.forEach((element) => {
          console.log("Here -> " + element._id);
        });
        console.log();
      })
      .catch(function (error) {
        console.log(error);
      });
  });
};
```
After obtaining the template ID, the next step is to generate PDF files. The system enables the merging of the fetched data into the template's designated placeholders or dynamic fields. This process ensures that the generated documents are populated with the relevant information sourced from Dynamics 365 CRM.
const createToken = require('./createtoken.js');
const axios = require('axios');
const fs = require("fs");
const dotenv = require('dotenv');


dotenv.config({
  path: './userparams.env'
});


const timestamp = new Date().toISOString().replace(/[-:.TZ]/g, '');
const randomString = Math.random().toString(36).substring(2, 8);
var fileExtension;


async function processData(data) {
  const formData = new FormData();
  const token = await createToken(process.env.EDOCGEN_USERNAME, process.env.EDOCGEN_PASSWORD);
  const headers = new Headers();


  console.log(" \n *****Processing data starts***");


  if (Array.isArray(data)) {
    fileExtension = '.zip';
  } else {
    fileExtension = '.pdf';
  }


  var filename = `${timestamp}-${randomString}` + fileExtension;
  const jsonBlob = new Blob([JSON.stringify(data)], {
    type: 'application/json'
  });


  console.log(`Token: ${token}`);


  headers.append('x-access-token', token);
  formData.append('documentId', process.env.DOCUMENT_ID);
  formData.append('format', process.env.FORMAT);
  formData.append('outputFileName', filename);
  formData.append('crm', “dynamics365”);
  formData.append('reqOrigin', 'https://app.edocgen.com’);
  formData.append('hostUrl', 'https://org185d95f2.crm8.dynamics.com/api/data/v9.0/accounts’);


  fetch('https://app.edocgen.com/api/v1/generate/bulk', {
    method: 'POST',
    headers: headers,
    body: formData
  })
    .then(response => response.json())
    .then(data => {
      console.log(data);
      // Call the checkOutputFile function here
      async function downloadFile() {
        const outputId = await checkOutputFile(filename, maxAttempts = 10, token);
        downloadOutput(outputId, token, filename);
      }


      downloadFile();


    })
    .catch(error => console.error(error));


}

async function downloadOutput(outputId, token, fileName) {


  console.log(
    "Edocgen Output Document Generated with Id -",
    outputId
  );


  const headers = {
    "x-access-token": token
  };


  let config_download = {
    method: "get",
    url: `https://app.edocgen.com/api/v1/output/download/${outputId}`,
    headers: headers,
    responseType: "arraybuffer",
    accept: "application/zip",
  };


  axios(config_download)
    .then(function (response) {
      console.log("Output file is downloaded with " + `${fileName}`);
      fs.writeFileSync(`./${fileName}`, response.data);
    })
    .catch(function (error) {
      console.log("Error while downloading");
      console.log(error);
    });


  if (process.env.EDOCGEN_OUTPUT_SEND_EMAIL == "YES") {
    sendEmail(outputId, process.env.EDOCGEN_OUTPUT_SENDER_EMAIL, token)
  }
}


async function checkOutputFile(fileName, maxAttempts, token) {
  console.log("Checking output file name --", fileName);
  const headers = {
    "Content-Type": "application/json",
    "x-access-token": token
  };


  const options = {
    method: "GET",
    headers: headers
  };


  for (let i = 1; i <= maxAttempts; i++) {
    const response = await fetch(`https://app.edocgen.com/api/v1/output/name/${fileName}`, options);
    const data = await response.json();
    console.log("File Generation Response -- Checking if output is generated by edocgen", data);


    if (data.output && data.output.length > 0) {
      const outputFile = data.output[0];
      return outputFile._id;
    }


    await new Promise(resolve => setTimeout(resolve, 1000)); // Wait for 1 second before retrying
  }


  throw new Error(`Output file "${fileName}" not generated after ${maxAttempts} attempts`);
}
```
In the provided code, the parameter responsible for fetching data is the hostUrlparameter. This parameter is used to specify the Dynamics URL endpoint from which data is retrieved.
Once the output file is generated, the function calls the downloadOutput() method to download the file to the local file system. This method sends a GET request to the document generation solution API's /api/v1/output/download/{output_id} endpoint to download the file with the given output ID. The downloaded file is saved to the local file system with a name based on the generated file UUID to ensure uniqueness.
By leveraging the email delivery capabilities of the system, you can automate the process of sending the generated documents to the intended recipients. This ensures efficient and timely distribution of the documents, streamlining your document management and communication processes.
```
async function sendEmail(outputId, toEmail, token) {
  const url = 'https://app.edocgen.com/api/v1/output/email';

  const payload = {
    outId: outputId,
    emailId: toEmail,
  };

  const headers = {
    'Content-Type': 'application/json',
    'x-access-token': token
  };

  const response = await fetch(url, {
    method: 'POST',
    headers: headers,
    body: JSON.stringify(payload)
  });

  const responseData = await response.json();
  console.log(responseData)
  if (response.ok) {
    console.log('Email sent successfully.');
  } else {
    console.error(`Failed to send email: ${responseData.message}`);
  }
}
```
In conclusion, the integration between eDocGen and Dynamics 365 CRM brings significant benefits to document generation processes within the CRM environment. By leveraging eDocGen's template-based automation capabilities and seamless integration with Dynamics 365 CRM, businesses can streamline their document creation workflows and enhance efficiency.
Posted by admin
Creating Documents is universal truth across organizations. Every organization either big or small.
Posted by admin
Integrate with the Azure SQL Server to generate PDF documents from existing templates.
Posted by admin
Generate PDF documents from existing templates and send them by email from .Net application.